Thinking about restoring a Victorian in Saugerties or replacing those drafty windows on your cottage? Before you touch the exterior, it helps to know if you need a Certificate of Appropriateness from the local historic preservation commission. The process is straightforward when you know what to expect, and it protects the character that makes Saugerties so special.
In this guide, you’ll learn when a COA is required in the Village or Town of Saugerties, how to prepare a complete application, what commissions usually look for, and how to keep your project on schedule. Let’s dive in.
What a COA is and why it matters
A Certificate of Appropriateness is a local approval for exterior changes to properties that are locally designated landmarks or located within a local historic district. It focuses on how your project looks and whether it respects the historic character of the property and streetscape.
A COA is different from a building permit. The COA reviews design and compatibility. The building permit reviews safety, structural, and code compliance. You often need both. One does not replace the other.
Local commissions often use the Secretary of the Interior’s Standards as the benchmark for good preservation practice. These standards favor repair over replacement and encourage changes that are compatible and reversible.
Do you need a COA in Saugerties?
Whether you need a COA depends on local designation and visibility. Confirm designation status first. Contact historic preservation staff or code enforcement to find out if your property is a local landmark or inside a local historic district.
If your property is locally designated, a COA is typically required for:
- Exterior changes visible from a public right of way, such as façade updates, new materials, replacement windows or doors, and some paint color changes.
- New additions or new construction that affect the look of the property or district.
- Demolition or removal of character-defining features.
- Porch, roof, or chimney changes that can be seen from public streets.
- Moving a building or altering site features that contribute to district character.
Work that may be exempt in many communities includes:
- Interior-only work not visible from public ways.
- Ordinary in-kind repairs that do not change design or materials.
- Routine landscaping and small non-structural items that do not impact character.
- Emergency stabilization, with follow-up review as required by local procedures.
Keep in mind that a property listed on the National Register does not automatically trigger a local COA requirement. Local designation is the trigger. If you plan to use state or federal funds or tax incentives, you may also need state or federal review.
Quick checklist: Likely COA triggers
- Is your home locally designated or inside a local historic district?
- Is the work on the exterior and visible from a public street or sidewalk?
- Does the scope include an addition, demolition, or moving the structure?
- Will you change primary materials, trim, windows, doors, roof, or porch details?
- Are you adding visible solar panels, mechanical units, or accessibility ramps?
If you answered yes to any of these, you likely need a COA.
How to prepare a strong COA application
A well-prepared application speeds review and reduces back-and-forth. Start early and be thorough.
Step 1: Research and pre-application
- Confirm designation and COA requirements with the local historic preservation commission or code office.
- Ask about pre-application meetings or staff consultations. Early feedback can save time and money.
Step 2: Assemble your package
Most commissions look for:
- A completed COA application form.
- A simple site plan that shows where the work is located.
- Elevation drawings and floor or roof plans for additions or significant changes.
- Current photos of your home from the street, plus close-ups of areas you plan to change. Include historic photos if you have them.
- Material samples and manufacturer cut sheets for items like windows, doors, roofing, and siding. Include paint chips if color is regulated.
- A short narrative describing what you will repair or replace, how, and why it meets the Secretary of the Interior’s Standards.
- Contractor or architect information, if applicable.
- For demolition: condition reports, cost estimates, and alternatives analysis.
- Any required fees.
Step 3: Get technical support where needed
- Use measured drawings for complex work. An architect or preservation consultant familiar with local commissions can help you avoid redesigns.
- For windows, document repair options and provide clear comparisons for any proposed replacements, including profiles and muntin patterns.
Step 4: Submit and follow public notice steps
- Applications are typically reviewed at scheduled commission meetings. Some projects require public notice or a hearing.
- Build in time for potential requests for more information.
Step 5: During review
- The commission evaluates your proposal against local guidelines and the Secretary’s Standards.
- Be ready to discuss alternatives, materials, and details.
Step 6: After the decision
- If approved, you may still need a building permit. Coordinate with code enforcement before starting work.
- Keep your COA on file and share it with your contractor. Stay within the approved scope to avoid enforcement actions.
- If denied, you can usually appeal through procedures set in local code.
What to bring to a pre-application meeting
- A few recent photos of your house from the street and close-ups of the work area.
- Simple sketches or markups on photos showing the proposed change.
- Product information or a sample of any new material.
- A short list of questions you want answered.
What Saugerties commissions look for outside
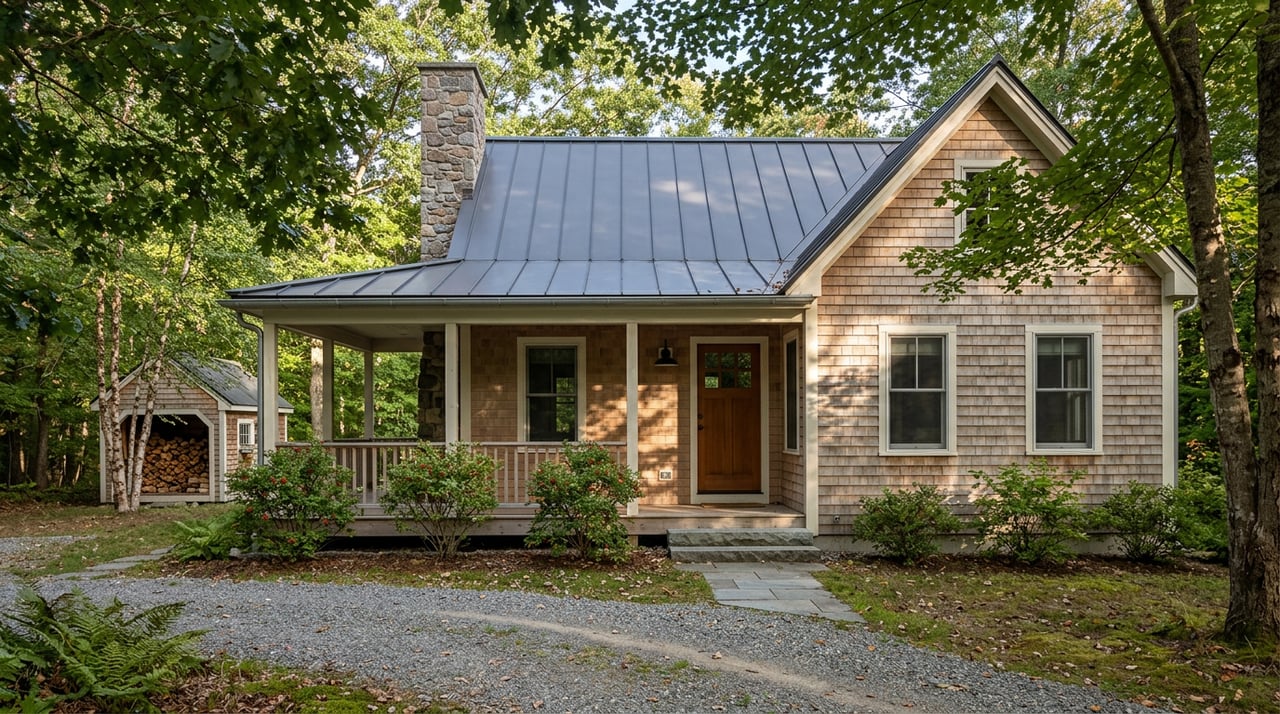
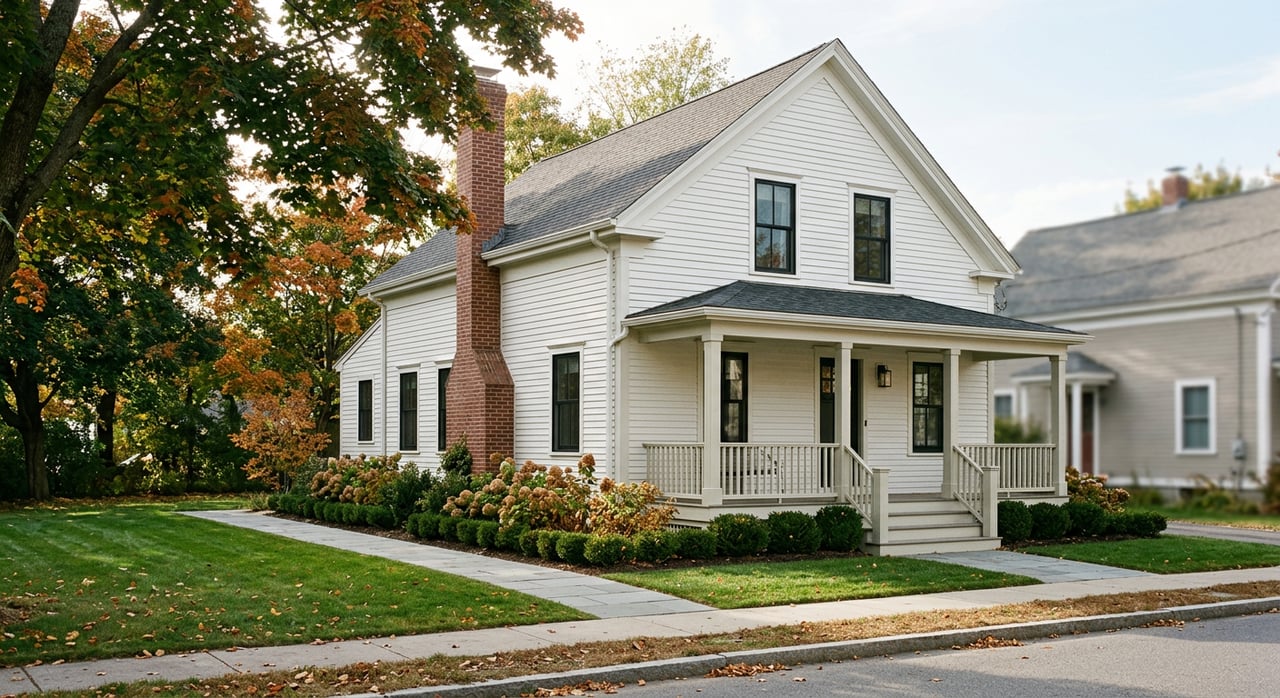
Local commissions focus on preserving character-defining features and ensuring compatibility. Here are the most common project types and what to consider.
Windows and doors
- Repair historic windows and doors whenever possible. If replacement is needed, match the original in profile, muntin pattern, operation, and materials.
- Vinyl units that change sightlines or have bulky frames are often discouraged. Wood or wood-clad options with appropriate muntins are more likely to be approved.
- Consider interior or low-profile storm windows for energy efficiency without changing the exterior look.
Roofs and chimneys
- Keep the roof’s shape, pitch, and visible materials consistent with the historic character.
- If you have historic slate, explore repair before replacement. Any substitute should closely match the original appearance.
- Preserve the massing and materials of chimneys and cupolas, repairing in place when feasible.
Siding and cladding
- Retain original wood clapboard, shingles, or masonry where possible.
- If replacement is necessary, use in-kind materials or high-quality alternatives that match scale, texture, and profile.
Porches, trim, and details
- Porches are often defining features. Repair balustrades, columns, and railings. Replace only what is beyond repair, and match profiles.
- If restoring missing details, use physical or photographic evidence to guide reconstruction.
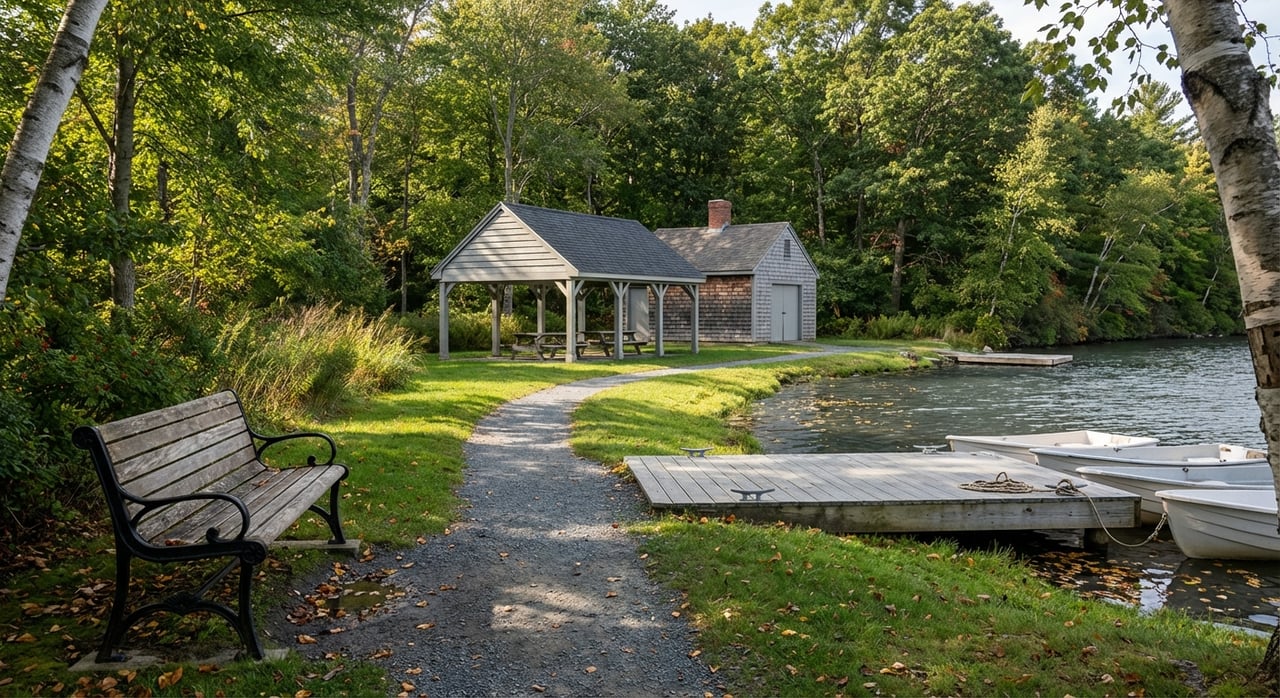
Additions and new construction
- Keep additions subordinate to the original building. Set them back from the primary façade.
- Focus on compatible scale, rhythm, rooflines, and materials rather than exact replication.
Paint and color
- Some districts regulate color. If yours does, choose colors that are compatible with historic palettes and submit samples if required.
Demolition
- Expect close scrutiny. You may need to document condition, show alternatives, and plan for stabilization of adjoining features.
Accessibility and mechanical upgrades
- Site ramps and lifts on the least visible elevations and keep them reversible where possible.
- Place HVAC units and solar panels where they are minimally visible from the street. Use screening when needed.
Energy improvements
- Favor weatherstripping, insulation from the interior, and storm windows before replacing historic fabric.
- If replacements are needed, maintain the original appearance from the street.
Timelines, permits, and appeals
Every project is different, but plan ahead so you do not feel rushed.
- Simple in-kind repairs with staff-level review can take a few days to a few weeks.
- Typical exterior changes reviewed at a commission meeting can take about 4 to 8 weeks from submission to decision, depending on schedules and the completeness of your application.
- Large projects, additions, and demolitions may take 2 to 6 months or more.
- Emergency stabilization may be allowed right away, with a follow-up COA filing. Confirm the local procedure before proceeding.
Remember, a COA is separate from a building permit. Coordinate both before starting work. If your project is denied, local code usually provides an appeal path.
Incentives and funding to explore
If your building is income producing and listed as historic, you may be eligible for a 20 percent Federal Historic Rehabilitation Tax Credit if your work meets the Secretary of the Interior’s Standards. New York State and local programs may also offer grants or tax benefits from time to time. If you plan to pursue incentives, involve state preservation staff early and align your scope with the required standards.
Common pitfalls and how to avoid them
Avoid these missteps to keep your project moving.
- Starting exterior work before confirming designation and COA needs.
- Submitting incomplete applications without photos, drawings, or material specs.
- Assuming National Register listing automatically triggers a local COA. Local designation is what matters for local review.
- Choosing low-cost materials that change profiles or textures in visible ways.
- Skipping coordination with the building department and other reviewers.
Best-practice checklist
- Confirm local designation, read the municipal guidelines, and schedule a pre-application meeting.
- Prepare complete documentation: photos, drawings, samples, and a brief narrative tied to the Secretary’s Standards.
- Favor repair over replacement; when replacing, match profiles, patterns, and materials.
- Hire preservation-minded professionals with local experience.
- Build extra time into your schedule for review and possible revisions.
- Save all approvals and documentation in a project file for future reference.
Real-world scenarios
- Window project: You want better energy performance. You document window repair options and propose interior storms. If some sashes are beyond repair, you show a wood-clad replacement that matches the original profiles and muntins. This approach aligns with the commission’s priorities.
- Porch restoration: Your porch railings are failing. You propose repairing sound sections and replacing only damaged parts with matching profiles, supported by photos and measured details. The limited replacement respects historic character.
- Solar siting: You plan rooftop solar. You work with your installer to place panels on a rear roof slope out of street view and provide a simple roof plan with sightlines. Screening and setback details help with approval.
Next steps for Saugerties homeowners
Historic homes reward thoughtful stewardship. With a clear plan and a complete application, you can improve comfort and value while honoring the character of your property and neighborhood. If you are considering a renovation as part of a sale or purchase, we can help you plan timing, connect you with preservation-minded pros, and understand how potential work may affect marketability.
Ready to map out your next step? Contact Peter & Stella Ilani for personalized guidance across Saugerties and the Hudson Valley, or start with our Get Your Instant Home Valuation to understand current market potential.
FAQs
What is the difference between a COA and a building permit in Saugerties?
- A COA reviews exterior design and historic compatibility, while a building permit reviews safety and code. Many projects need both approvals before work begins.
Does National Register listing alone mean I need a local COA?
- Not necessarily. Local COA requirements are triggered by local designation. National Register listing may matter if you use state or federal funds or incentives.
How long does a typical COA review take in Saugerties?
- Simple items may be handled in days or weeks, while standard exterior changes often take 4 to 8 weeks. Large or complex projects can take several months.
Are paint colors regulated for historic homes in Saugerties?
- Some districts regulate color. If yours does, expect to submit color samples that are compatible with historic palettes.
Can I do emergency repairs before getting a COA?
- Many municipalities allow immediate stabilization with quick follow-up review. Confirm the local emergency process with staff before proceeding.